November 07, 2012

Halloween Decorating Recap Part 2

 
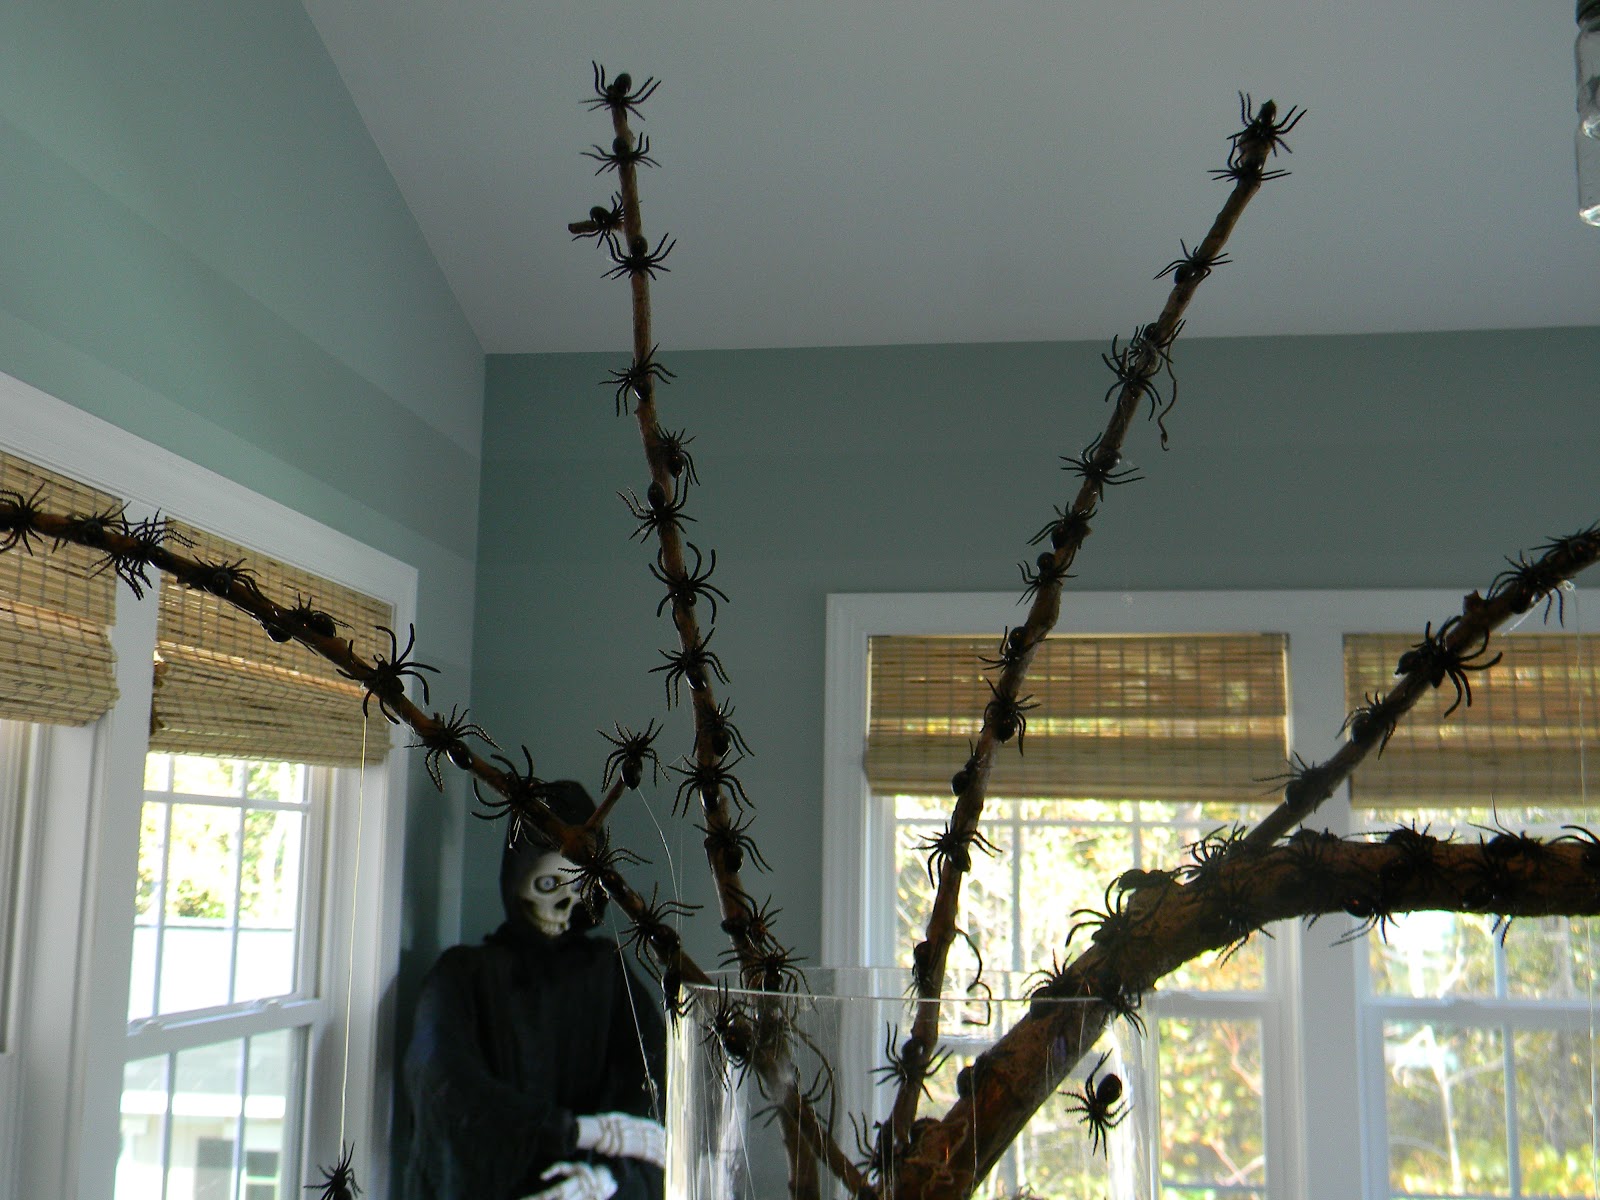
In the last post I shared the decorations we did for Halloween.  Today, I wanted to finish things up with the decorating we did for our Halloween party! 
 
How do you get ready for a party?  Well, we like to have a murder take place and who better to be the victim than my lovely sister ;-)


As we were taping around her, someone decided that having the head attached would be a bit boring so...
 
A decapitation and sawing off of the leg was in order!  I don't know if you can tell, but my husband loves Halloween ;-)
 
As the guests entered, we had the crime scene to their right and the photo scene to their left.
 
For the photo scene, I created a police line up backdrop.
 
I took an old white sheet, a can of black spray paint, some blue painters tape to tape off the lines, and a pack of cardboard number stencils and in about 30 minutes, I had a police line up!
 
Here is a couple of our guests, which by the looks on their faces were way to happy being arrested...


After you get past the line up and crime scene, you are free to roam about the house and get some grub.  For treats I created a Gruesome Dessert Table, but not too gory where people wouldn't eat the stuff.


Let's take a closer look...
 
 
Oozing Blood Cake
 
Severed Fingers
 
Bloody Fingerprint Cupcakes
 
I wish I could find my picture of my Oreo truffle eyeballs on the stands I created, but I must have put them on the table after I took the pictures :(   Oh well, here is what the stands looked like when I made them...
 
 
Quick and easy to do and very inexpensive!


Ready for the Eyeball Truffles 
 
 
If you would like to create your own stands, all you have to do is pick up a few inexpensive plates.  These were black plastic trays/plates that I found at target.  I was going to stick the usual glass candle stick in the middle, but then I thought it would be a bit more fun to create a little something more spooky.  So I took some dollar store moss and some sticky eyeballs from Target and I put them in a regular drinking glass.  I put a little hot glue around the rim of the glass and I attached the larger tray to the glass.  With the glass upside down and attached to the larger tray, I hot glued the smaller tray to the glass and created a two tiered stand. 


 There was also a lot of really cool lighting going on. 
 
From candle lit areas...
 
To Blue Light Specials...
 
 
 Out of all the areas that were decorated, the one place you didn't want to enter into was Dexter's Kill Room...
 
 
First, we covered our morning room in wall to wall plastic to give it the authentic Dexter feel, then we printed up large pictures of the Victim's, which were actually the guests at the party.  Finally, what every Dexter Kill room needs is Blood Spatter.  So we flung red paint all down the plastic and across the victim's pictures.  


Yuck right?  I know I love it too ;-)
 
 
 We even covered the ceiling.  Who wants to leave any DNA behind, right? 
 
 
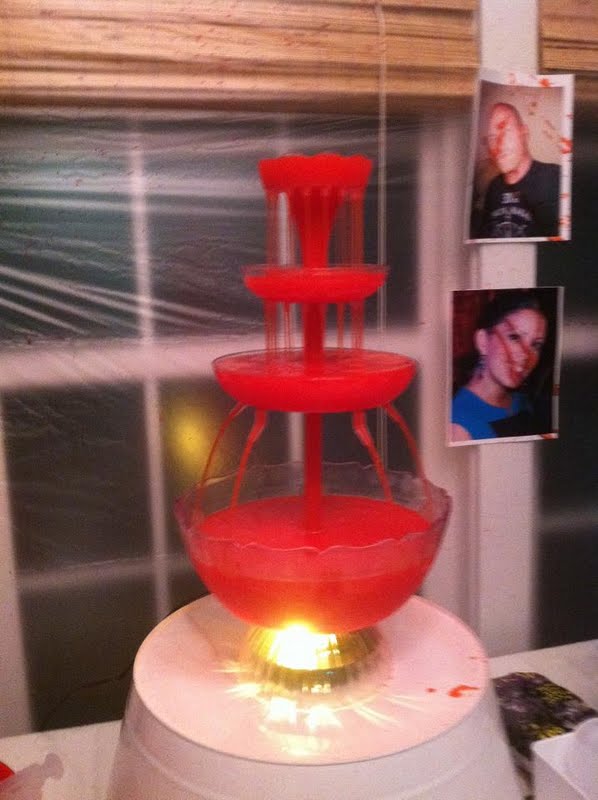
 We decorated the beverage table with Red Rum Punch to give it the running blood feel.  I know, we are sick, lol!
 
 
We made 100 jello shooter syringes, because if you watch Dexter you know that this is how he takes his victims down, and well, if you don't watch Dexter, then these are just a really cool way to serve jello shots for Halloween.
 
Since we had a Dexter Kill Room and Dexter's Syringe, what else would you need to finish it off other than DEXTER HIMSELF!!!
 
 And to add to the effect, well you can't have Dexter without a victim!  And P.S. if you were thinking that my costume does not look comfortable, well, you would be right!!! 
 
 It's as simple as that!  Don't go into Dexter's Kill Room for a drink or you may end up injected with a jello shot! Which, now that I typed that sentence, doesn't sound too bad, lol.
 

November 05, 2012

Halloween Decorating Recap Part 1!

 
If you are anything like me, when a holiday is over, I am ready to move on to the next one!   Well, I don't really do fall decorations since we go all out on Halloween.  So, before I jump into Christmas ideas for decorating in the weeks to come, I thought I would share a recap of what we did for Halloween!!
 
 
Here is the left side of the built-ins.  The only thing missing from this picture is the dead flowers that I hadn't yet put in the green slimy water when I took this picture.  I waited closer to our Halloween party to put the flowers in.  To get the green sludge color,  I just dyed some water with a little yellow and brown food coloring. 


 Moss and eyeballs are a cheap and easy way to bring the "CREEPY" factor into your home.  I also found some Halloween portraits online to finish it off.


Guarding the TV
 
 
Our pretty lady!
 
The right side of the built-ins


 Up Close and Personal
 
 
 A little black netting across the family photos


A little bit of bathroom fear is always good, right?  Not pictured is a rat caught in a trap on the floor.  My friend did not use this restroom for at least two weeks when she would come to visit, which means I did my job, lol!
 
 
My Spider Tree


I purchased a bag of sticky eyeballs and a few bags of plastic spiders from Target and then stopped in at the dollar store for the moss.  My son went into the woods behind our house and got the large branches to stick in the vase. 
 
I really love it when decorations are cheap, but they still make a big impact!
 
 
If you look closely in this picture, you can see the clear jewelry cording I used to tie around the branches to hang the spiders.   Then I just went to town with my hot glue gun sticking the spiders to the branches!


This is my favorite lady we have around the house during Halloween!  I always have the eerie feeling that she is watching me.  I'm right aren't I?  She is watching me!!!
 
 
 And of course, no Halloween is complete with out a vampire welcoming you in.


Check back in for Part 2: The Halloween Party...

October 18, 2012

French Country Cottage Design

I hope you are all enjoying your week! 
I am having a great week.  The Halloween Decorations are finally up!  We have been a little busy around here the last few weeks and have been behind the ball on getting decorations up.  So at least we have a couple weeks of Halloween fun.
 
As far as the business side of things,  I am in the process of working with a new client to decorate her living room.  This couple is making the move from Maryland to Virginia and have decided to retire here.  They are looking to keep a little of the traditional feel, but really bring in a more updated feel to the space. 
 
After meeting with the client, I decided to take a little of the French Country feel and add a bit of a relaxed cottage feel into it.  Sort of meld it all together.  Their was a floral fabric chair that the client currently has in the living room and she wanted to keep it in the space.  So, I took the colors from the chair and brought in a deeper shade of blue.  This is the color palette I chose...
 
I think for the walls, the Languid Blue color will be perfect!  My client's have the most gorgeous trim work throughout the living room and a beautiful tray ceiling with recessed lighting to finish it off, so my thought was that this color would bring such a relaxing feel to the room!


Here is the design board that I created for their French County Cottage Living Room...
 
I hope you like it.  I think the clock might just be my very favorite thing!


If you would like a to have an affordable Room Board designed for you, please contact Seaside Interiors at seasideinteriors01@gmail.com.

October 02, 2012

Relaxing Earth Tones Living Room Design Board

I can honestly say, I adore my job!  Number one, to be able to help someone transform a space in their home that allows them to really have a unique place all their own, is so much fun!  Another reason I love it, is that I get to express my creative side, which is constantly screaming at me to do something ;-)  So it is a win win for me!

This week I am working with a new client that loves reds and blues and wants to tastefully incorporate that into a sort of French Country Cottage feel.  So, I am working on that as I also finish up a design board that is inspired by Earth Tones that I want to show you.

Today's online design board that I am sharing with you is for a wonderful couple with two young children.  They have a living/family room that they are working on transforming into a more formal feeling space.  The existing space is done in greens and browns and the clients want to keep the existing color scheme.   Since the walls already have all the color the room needs, I wanted to keep the palette very light and airy and bring in a little of the wall colors to help soften the space.   I decided to bring in a more neutral beige shade and also a deep blue to add some depth of color.  One handy dandy tip is that if your walls are full of color, then always bring in lighter furniture decor and visa versa, if your walls are light, then add a punch of color with darker furniture.  It is always a nice contrast!

Here is the design board that I created...


Source List

Home Decorators Collection Panorama White Rectangle Sofa Table


THANKS for stopping by and feel free to leave a comment if you have any questions!


If you are looking for a design board to get you started on your home, please send me an email to seasideinteriors01@gmail.com.