To me it is always fun to work in a multi-functional space. When I was contacted by a recent client, she asked me if I could help trouble shoot her loft area and turn it into something special. Suzanne's son is at the age of Lego's and drawing and having a space that fits his needs. When I saw the space I was going to be designing for, I knew almost immediately that it would be a great transitional space for her son to enjoy through his teen years.
This is the design I put together for their loft area...

For the space itself, the clients were wanting to keep the wall color as it was, so my job was to work around that and bring in some fun things that would allow the wall color to be fun but not overbearing. By bringing in a lot of white furniture pieces, it will lighten the room up immediately.
My favorite find for the room is these Amazing game controller wall decals...

I came across these while looking for some fun additions to my son's bedroom and I thought that they would fit their son's loft space perfectly!
Another item that I thought was fun and funky was this throw rug...
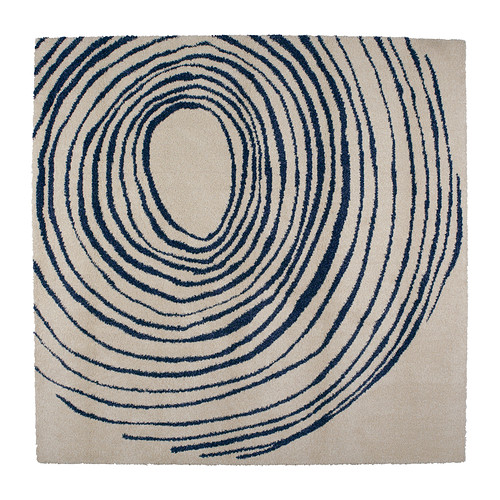
A fun piece to ground the space!
This loft area was very cut up and had some unique, to say the least, angled walls. So I put together a Room Layout as part of Suzanne's Design Package.

I created three different zones that will allow for playing, crafting, and gaming.

In the furniture placement, I created a visual for the client of where to put everything. The detailed description of where everything goes along with all the hints and tips comes in the Source List that I send the client.
So now when I speak about furniture placement in zone 1 on the source list, Suzanne can just refer back to the Room Layout to get the visual.

Speaking of zone 1, here it is. The red sofa is getting sold so that will no longer be in the space.

Then all we need to do is Scooch the tv down, add a larger media unit underneath the television and put the controller decals on either side of the wall to finish it off. Throw in two over sized Navy Bean Bag cushions and it's a place where their son can have a blast!
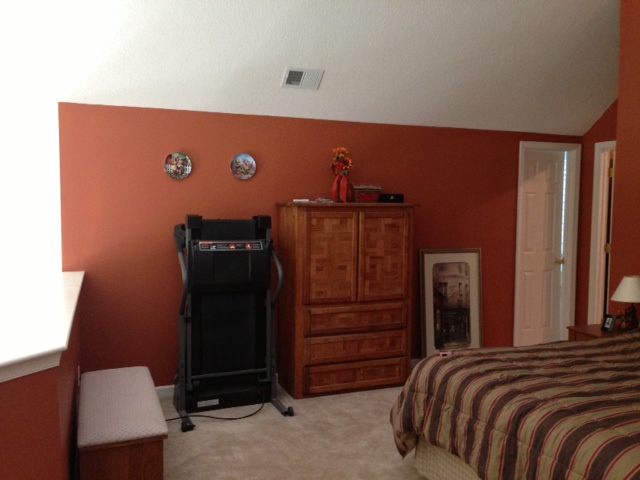
This area is zone 3. All of this furniture will be put back in to the spare bedroom to allow for a desk and two units, one on either side of the desk. The desk itself is being repainted black and the units are something the client owns. The black units are similar to these...

I want this area to be a spot to do homework and craft, so I added in wall storage like these...

These will go above each unit to store all of his craft supplies and instead of ribbon, I suggested using brown wrapping paper so that he can pull it off the roll and create things with it.
In the middle of the wall units to go over the desk, I suggested a framed out chalkboard, so that he can either draw or keep notes and memos as he gets older.
To left on the lower wall here...

I suggested using two clip rails to display all of his artwork like the image below...


This area is zone 2. Again all of this furniture will be placed back in the bedroom off to the left there. So we are working with a blank slate.
In this area, I suggested we put the fun rug, along with a large white table to play on, and 6 of these black chairs so that all his buddies can hang out...

Along the back wall where you see the picture frame, I suggested that they add floating shelves to display some of the Lego's that my client's son likes to create. He is like my son and likes to build them and look at them. I was the total opposite as a kid, I built something, looked at it for a bit, smashed it, and tried to build something even bigger. None of this put it together and be done, lol.
Under neath the floating shelves, I went with the Ikea Expedit Shelving to add storage and counter space for lamps and other toys...

One in the 8 and squares and an additional one in the four squares to extend down the wall. I also recommended using straight legs that Ikea offers instead of going the route of stubbing your toes on the casters. I am a clumsy girl, so I know that I would go flying over these! Just sayin!
Finally, off to the right on the angled wall, I suggested using the Ribba Picture Ledges from Ikea.

To create a library area to display books and underneath I suggested a large sea grass style basket to keep all the extra books.
And here's one more look at the overall Mood Board for the space...

I hope you liked seeing the space and the Design Board Package for it.
If you are interested in having a Design Board Package created for a space/spaces in your home, please contact me at seasideinteriors01@gmail.com or visit my website at www.seasideinteriorsllc.com.