Showing posts with label white desk. Show all posts

March 03, 2013

New Purchases for the Office Makeover!

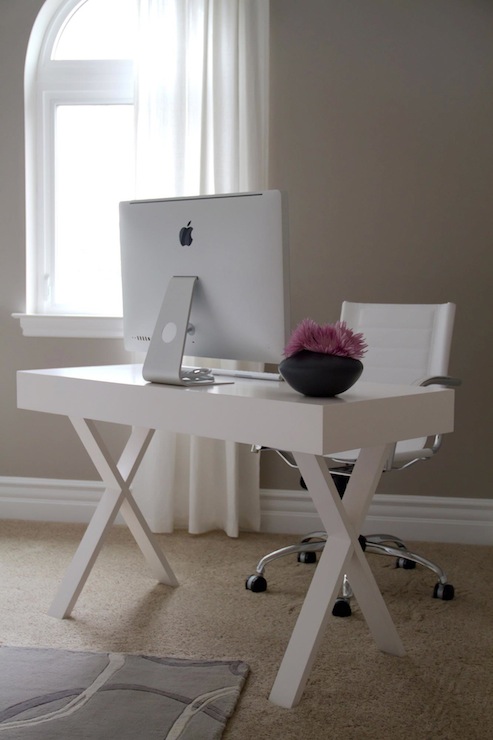
I have been slowly making some purchases for the Office Makeover.  This past week we went to Ikea, Target, and my Mother-In-Laws.  You can shop at your M.I.L.s if she is getting rid of stuff.  It's ok ;-)  Especially if she has good taste and if she is doing a new built in desk system in her master bedroom and getting rid of a pretty much brand new World Market Josephine Desk like this one...


With a trade for our old electric piano, I was thrilled! 


On our trip to Ikea, I purchased a few items for the office including the Kvarnik Storage Boxes in two different sizes...

KVARNVIK Box with lid IKEA This box is perfect for storing your DVDs, games, chargers remotes or desk accessories.
I got two in this size (8 1/4 x 11 1/2 x 6)


KVARNVIK Box with lid IKEA This box is suitable for storing your newspapers, magazines, photos or other memorabilia.
I also picked up two in this size (15 x 11 1/2 x 6)

I figured these would be great to store fabric samples and paint swatches.


For the office chairs I wanted for my clients, I decided on two of the Henriksdal gray linen slipcovered dining chairs...

HENRIKSDAL Chair with long cover IKEA

I purchased the chairs, so on my next trip to Ikea I will be purchasing the slipcovers to go with them.


And finally, while I was at Target picking up my new lamps, I saw this shiny little side table that I think will be a fun addition to the office...


I will have to wait and see how the room feels with this table because the original desk I had in mind was more industrial than modern and since the new desk is more modern, I don't want everything to feel super modern in there.  I may end up with a more simple wooden side table. 


I really like the feel of where the office is going overall!
 
If you enjoyed this post and don't want to miss out ;-) click up top there on the right and follow along ;-)
 
For information on my on-line design services, please click here.
 
 
For on-site design services {Greater Hampton Roads and Richmond Virginia}, please email seasideinteriors01@gmail.com for pricing and availability.
 
Seaside Interiors


July 20, 2012

Furniture Before and After's

I recently showed the completed master bedroom that I decorated, so today, I wanted to share some of the the amazing furniture transformations! 

To give you a little hint on the types of paints to use on furniture, I wanted to show you the stuff I purchased at Sherwin Williams.  It's not a plug, I just love this stuff.  For awhile, I have been looking for paint and different paint techniques that will make the furniture look like it has just been purchased that way at a store.  So, through a little bit of research, I came across this paint...


I got a gallon in the low sheen black to cover the tall boy, dresser, and chair.  I also picked up a quart of the white for the desk.


And the kind associate at Sherwin Williams shared this primer with me.  This is the primer you need if you are painting any type of furniture that you plan on putting things on top of.  That way your decor won't stick to the paint or pull the paint up.


Okeydoke, so now that we have the paint sorted, let's take a look at the finished products...

MR. TALL BOY DRESSER

BEFORE...


This piece had a nice honey finish, but this stain wouldn't work in the design, so it got sanded, wiped down, coated in primer, and finished with two coats of the black paint.


And here is the AFTER...


DESK AND CHAIR


The desk was a nice piece to begin with, so we did the same process as on the dresser, except we used the white paint to finish it off.  I didn't want everything in the room painted black.  I think the room would have had to much of a heavy feel. 


This guy had good bones.  That's all I can say about him.  He definitely needed a little love and attention.


OK, a lot of love and attention :)  Once, he was painted and I added new padding and material to the seat, we had ourselves a pretty little desk and chair. 


Here is the AFTER...


DRESSER

I think the most difficult piece to paint on the project might have just been this guy...


BEFORE...


This one was a great find and something I knew the client would love, but I also knew that she wanted to make sure her husband was part of this space, which meant this bad boy needed an update.


AFTER... 


I really love how you can't see brush strokes or roller marks in the finished product.  The paint sort of levels itself out, which is nice.


So last on the list for the furniture redos is the bench.  I purchased the bench itself and added padding, covered it with a nice designer material, and finished with some nail head trim.

BEFORE...


A plain bench.  I like the simpleness of it, but for the room I was working on, I wanted to add a little umph to this piece.


Here is the AFTER...


In my next few posts, I want to share with you a few DIY projects I did for the room like the revamped cork board,  the bench and chair redo's, and the headboard.  Have an awesome weekend!!!


Linking up to:


If you enjoyed this post then click up top there on the right and follow along :)

For information on my on-line design services, like the design board above, please click here.

For on-site design services {Greater Hampton Roads and Richmond Virginia}, please email seasideinteriors01@gmail.com for pricing and availability.

Seaside Interiors

July 12, 2012

The Big Reveal!!!

Ok Ok so I fibbed.  I said I would post about the second part of the Homerama show, but I was able to take the photos of the Master Bedroom that I just completed, so I was way more EXCITED to share it with you!!!  But I promise I will post the second half of the Homerama show soon :) 

The client I worked with was looking for a mix of traditional and contemporary, so
this is the mood board I designed for the room...


Here is the BEFORE...


And here is the AFTER...


 This is the BEFORE view looking at the windows...


    And AFTER!


The one thing I didn't take into consideration when putting up the curtains, since they are the same length as the previous ones, is that these curtains are grommet and the previous curtains were tab curtains.  I forgot that tab curtain gives you a few more inches in length.  So this next week, I will be adding a strip of white or the same purple to the base of the curtains to make them touch the ground.  It's a must for me, lol! 


The lamps where a mix of gray and mercury in color and are somewhat see through.  With a lot of black pieces in the room, I used the white and glass to soften up different areas and bring a bit of a lighter feel.


In this BEFORE picture, you can see that the client has nice high walls, so I wanted to take advantage of that and create a really tall headboard.


A close up of the tufted headboard that my husband and I created.  I even had my sister and her boyfriend assisting with the tufting.  A collaborative effort to say the least, but I love how it turned out!


 Extreme CLOSE UP.


For the pillows, I did three Euro shams across the back, then the pillows to match the bedding, and finally some accent pillows to bring in the colors of the room.


I also purchased a black bench for the room and covered it with a purple and white designer fabric.  DIY to come on this guy!


I was going to add nail heads to the headboard, but since this room was done under a short time constraint, I was not able to order the larger quantity of nail heads, so I purchased a smaller amount at the fabric store and incorporated them on to the bench.


The client had a small lingerie dresser on the wall before.  So this piece was moved into her closet to make room for a larger piece.


I repurposed the tall dresser from the other wall onto this wall and added some accent pieces and a painting.

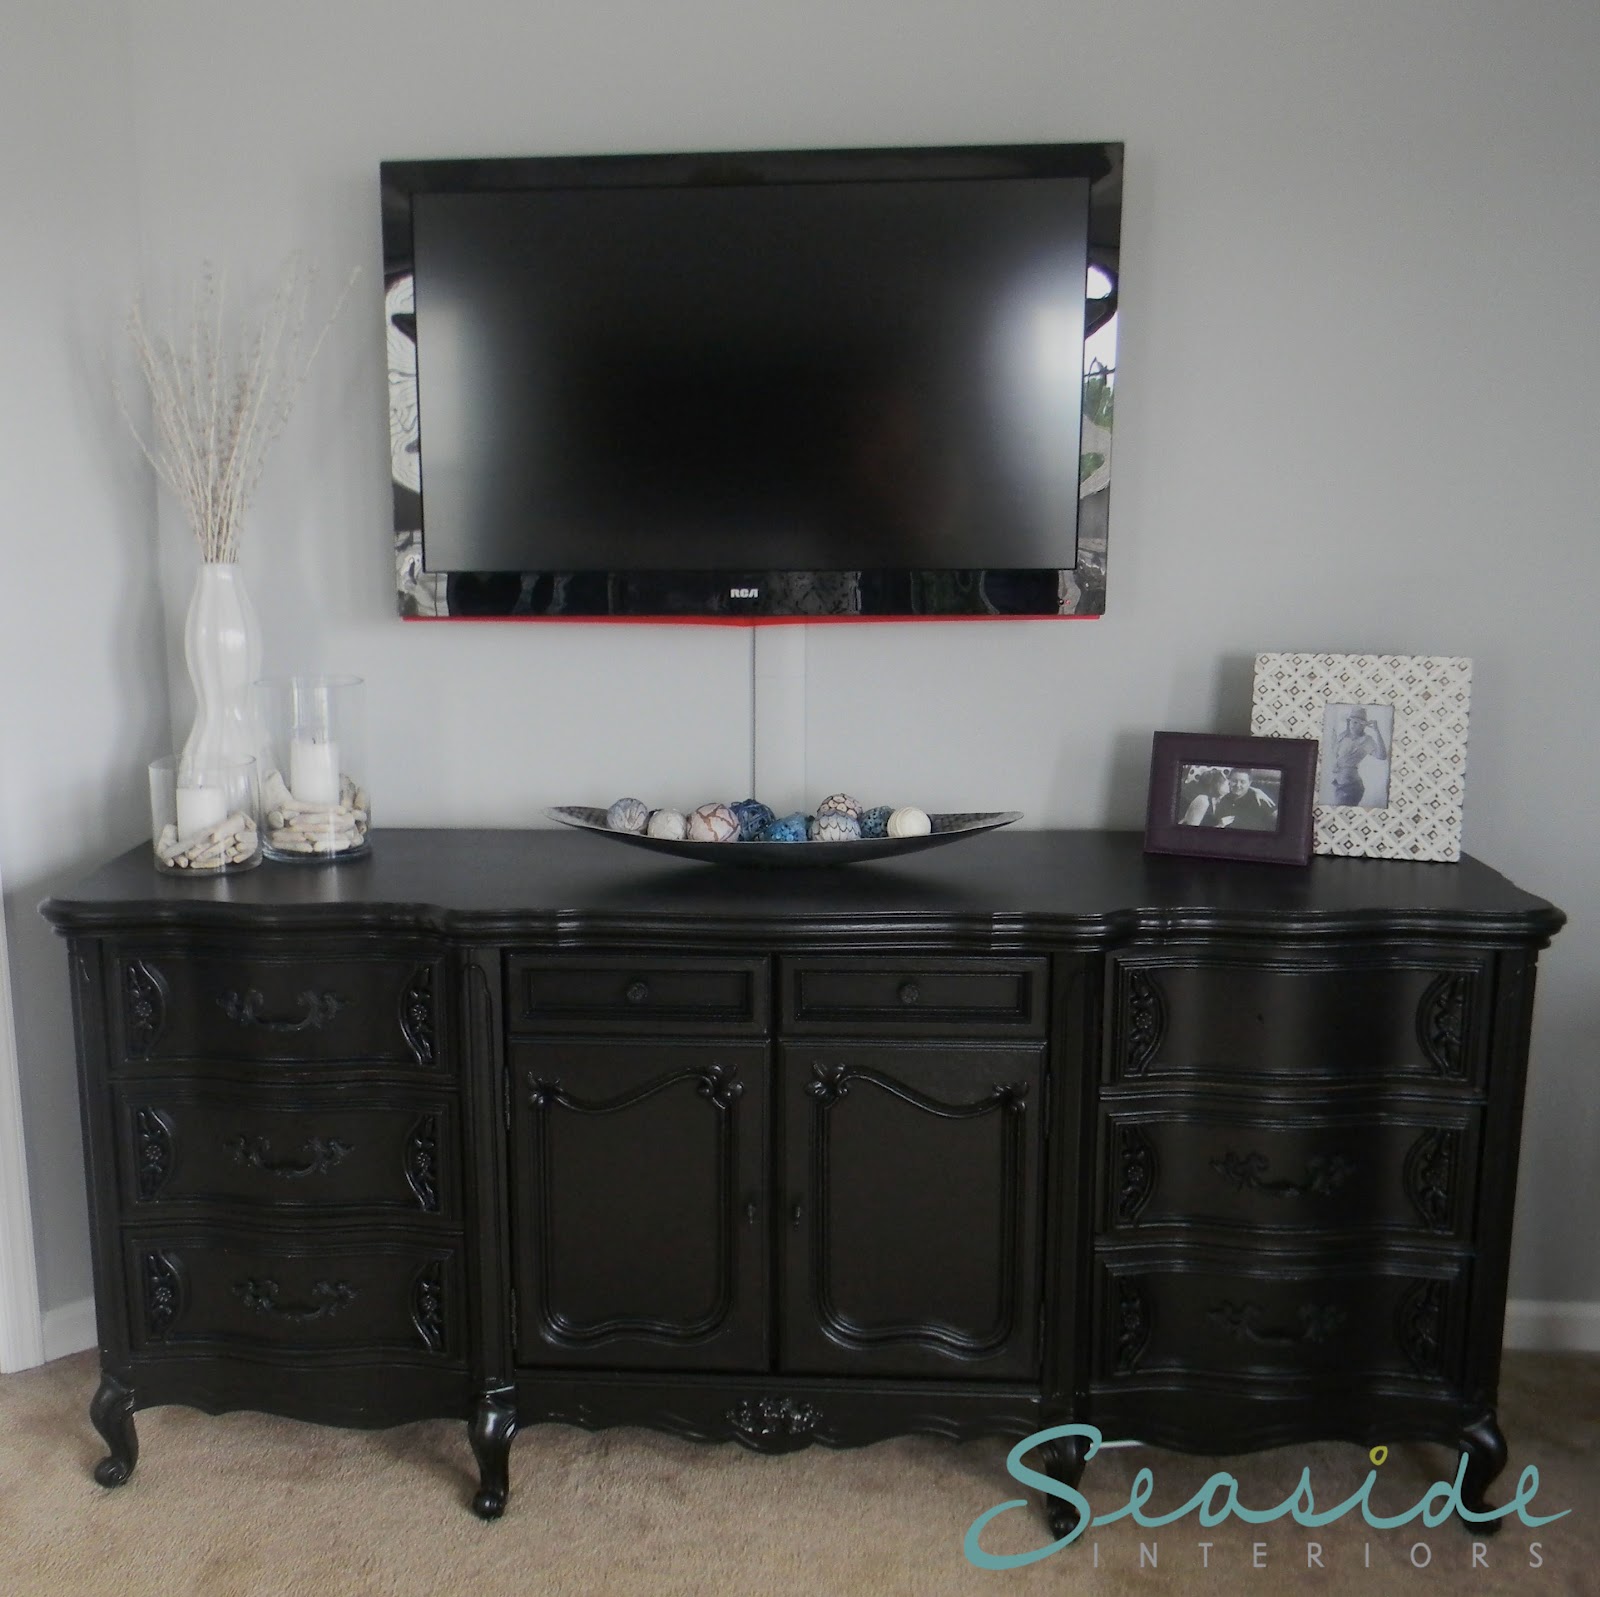
The dresser was previously brown,  so it got a coat of black paint and black spray on the hardware.  I added a few punches of the purple with the picture and vase and sprayed the brown tray a blue gray color.
 
I also took a tray that was previously brown and painted it a blue gray.  Now she has a place to hold lotions or perfumes.


This area before was where her tall dresser sat.  She was able to reuse her chaise lounge in another room of the house.   So that freed up space to add her desk and a long dresser that we repainted.

Here is a shot of the dresser all Prettied Up with a few coats of black paint.


And some close ups of the detailed work on the dresser...


I managed to find a pack of purple, blue, and white decorative balls.  (I don't know what else to call them) I think I called them spherical objects in a previous post so let's keep that name rolling, lol!  


Ok, On to the desk area, which is my favorite part of the room, well, that and the headboard, but I think the desk area wins out for me! 

This was the desk area BEFORE...

 How cute is the client's great dane?   He is almost the size of the chaise lounge!


And this is the AFTER...


This is the area where the chaise used to sit.  Now it's a special place for the client to get away and relax!  I repurposed the mirror and turned it into a cork board where the client can pin messages.  Then the chair coat a fresh coat of black paint and a new plush fabric covered seat!


A Close Up of the Pin Board.


 Speaking of pinning, I couldn't leave the desk without adding a few special touches inside the drawer. 


 And some pretty girly pencils and a sand timer to finish off the desk area!

Here is one last peek of the BEFORE...
  

And AFTER...


So now that I have put you in complete PICTURE OVERLOAD, thanks to my excitement of the room ;)  I will let your eyes rest!  In upcoming posts, I have some DIY projects to share with you from the room and some before and afters of the furniture from what it looked like when we began to the finished product that you see in the room now. 

Also a special thanks to my amazing hubs for painting his butt off on the dressers, desk, and chair!!! He was also hired by the client to paint the room, which really added to the total transformation!  The color I ended up going with was Gray Screen from Sherwin Williams.  

Thanks for stopping in and I hope you liked the makeover :)