
I recently showed the completed master bedroom that I decorated, so today, I wanted to share some of the the amazing furniture transformations!
To give you a little hint on the types of paints to use on furniture, I wanted to show you the stuff I purchased at Sherwin Williams. It's not a plug, I just love this stuff. For awhile, I have been looking for paint and different paint techniques that will make the furniture look like it has just been purchased that way at a store. So, through a little bit of research, I came across this paint...


I got a gallon in the low sheen black to cover the tall boy, dresser, and chair. I also picked up a quart of the white for the desk.

And the kind associate at Sherwin Williams shared this primer with me. This is the primer you need if you are painting any type of furniture that you plan on putting things on top of. That way your decor won't stick to the paint or pull the paint up.


Okeydoke, so now that we have the paint sorted, let's take a look at the finished products...
MR. TALL BOY DRESSER
BEFORE...

This piece had a nice honey finish, but this stain wouldn't work in the design, so it got sanded, wiped down, coated in primer, and finished with two coats of the black paint.


And here is the AFTER...


DESK AND CHAIR

The desk was a nice piece to begin with, so we did the same process as on the dresser, except we used the white paint to finish it off. I didn't want everything in the room painted black. I think the room would have had to much of a heavy feel.


This guy had good bones. That's all I can say about him. He definitely needed a little love and attention.


OK, a lot of love and attention :) Once, he was painted and I added new padding and material to the seat, we had ourselves a pretty little desk and chair.
Here is the AFTER...


DRESSER
I think the most difficult piece to paint on the project might have just been this guy...
BEFORE...

This one was a great find and something I knew the client would love, but I also knew that she wanted to make sure her husband was part of this space, which meant this bad boy needed an update.
AFTER...
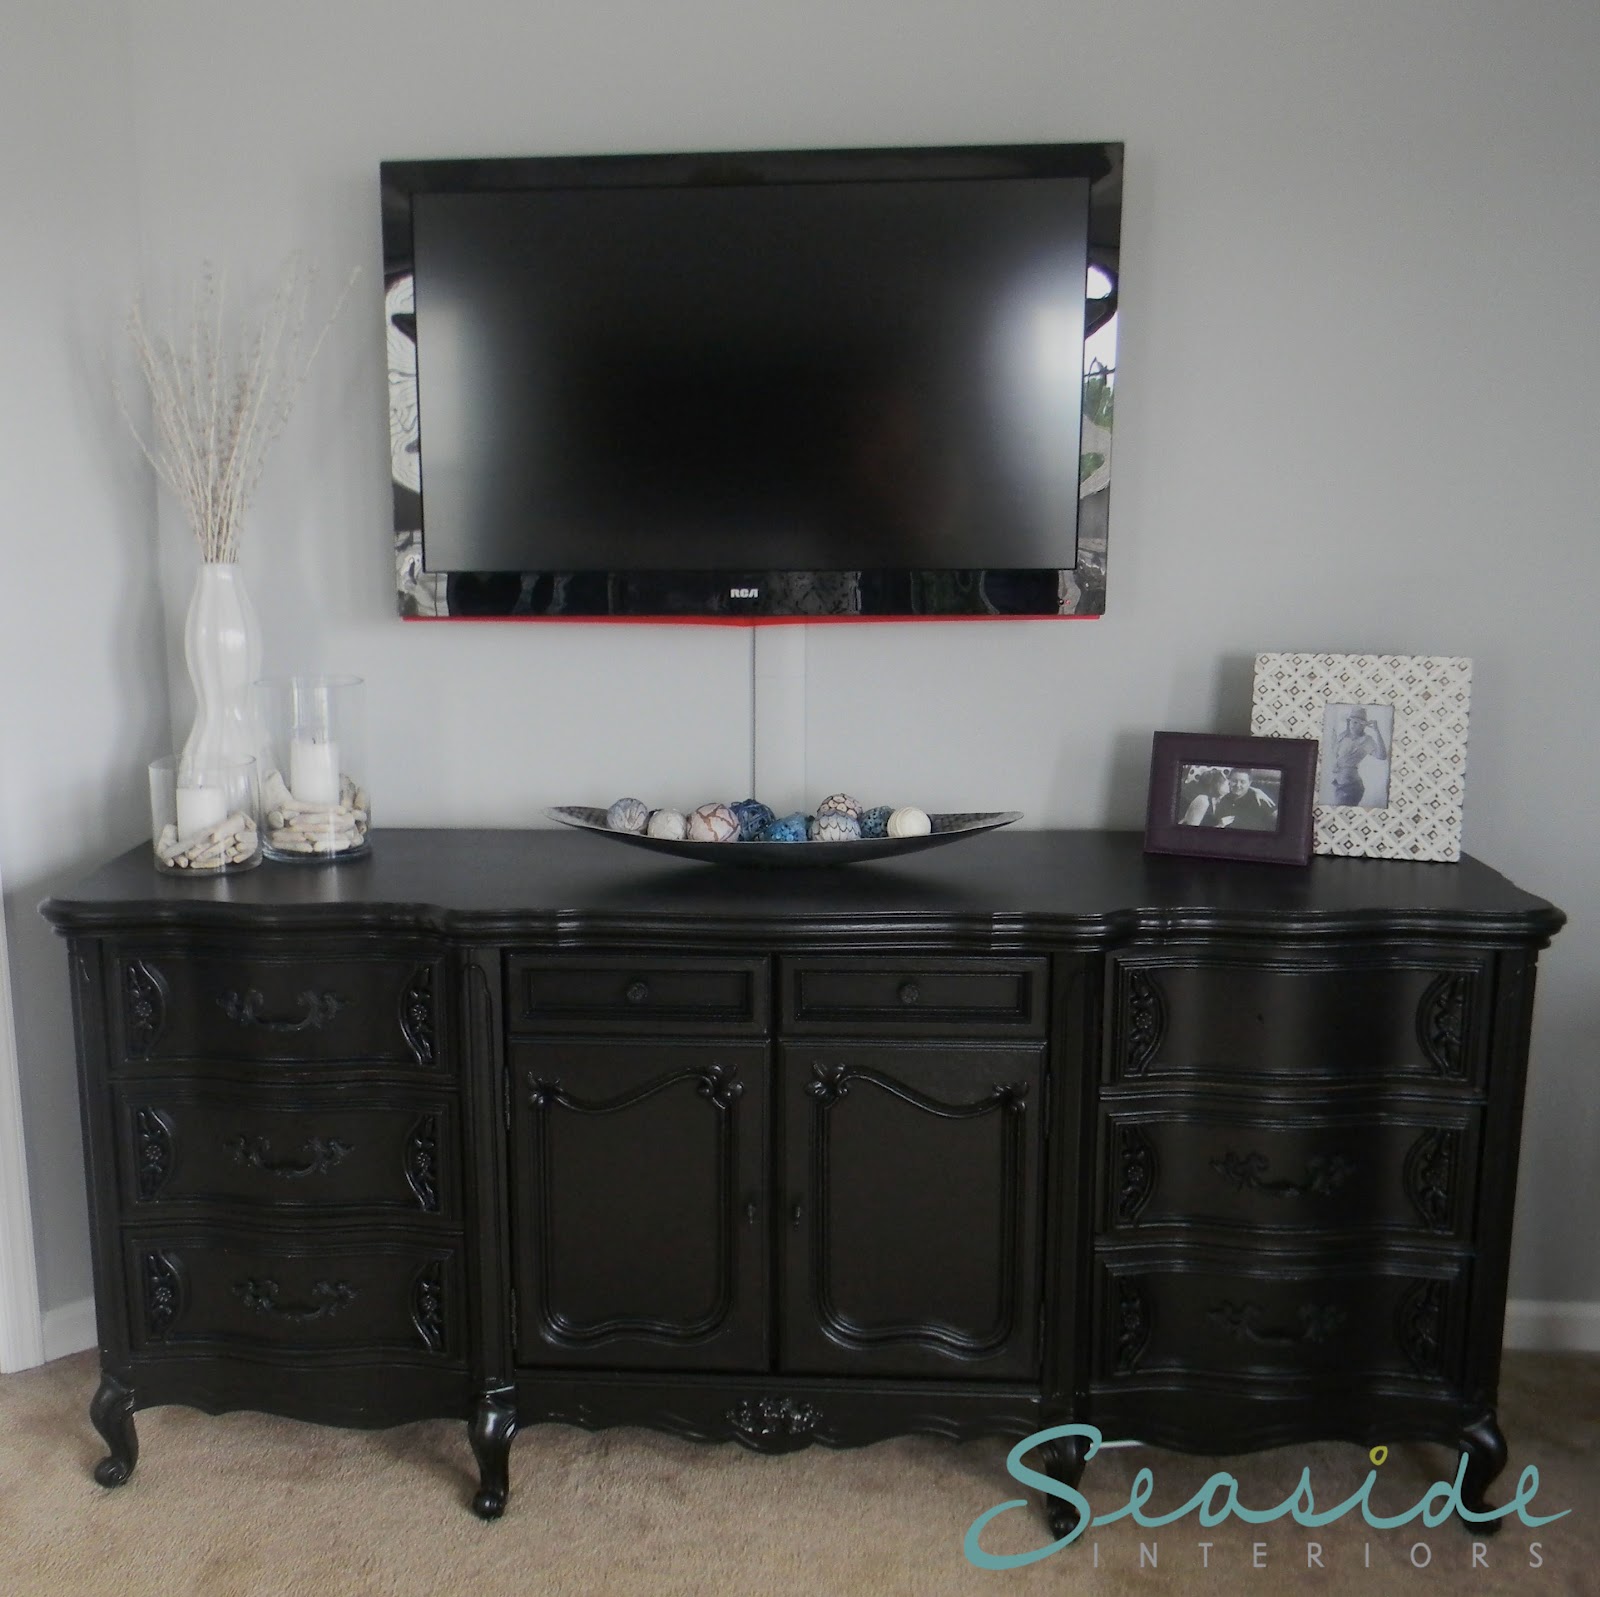

I really love how you can't see brush strokes or roller marks in the finished product. The paint sort of levels itself out, which is nice.
So last on the list for the furniture redos is the bench. I purchased the bench itself and added padding, covered it with a nice designer material, and finished with some nail head trim.
BEFORE...

A plain bench. I like the simpleness of it, but for the room I was working on, I wanted to add a little umph to this piece.
Here is the AFTER...


In my next few posts, I want to share with you a few DIY projects I did for the room like the revamped cork board, the bench and chair redo's, and the headboard. Have an awesome weekend!!!
Linking up to:

If you enjoyed this post then click up top there on the right and follow along :)
For information on my on-line design services, like the design board above, please click here.
For on-site design services {Greater Hampton Roads and Richmond Virginia}, please email seasideinteriors01@gmail.com for pricing and availability.
Seaside Interiors


