
I hope you are having a great, what day is it? Tuesday. Sure let's go with it. I have one last Lego Friends tutorial for you today.
I previously posted about the Lego Friends Chocolate Molds, the Lego Friends Birthday Party, the Lego Friends Oreo Truffles, and today I am finishing up with the Lego Friends goody bags!
Party Supplies

A round circle cutter approx. 2 inches
A cutting mat
Scissors
2 Paper bags (to complete each bag you will need 2 bags)
Adhesive Foam Circles
A black pen

A close up of the foam adhesive circles you will need to attach the Lego circles.

Each pack came with 10 paper bags, 5 of each color. Since I just needed 2 of each color this worked perfectly for me. If you don't want to end a paper bags life, close your eyes now! I cut up two bags which gave me four total squares to cut from. If you can't cut up the bags, then maybe using matching card stock in the same color will help you through it. It was only about $4 for 10 bags at Target in the party section.

I took one of my circle cutters, about a 2 in. cutter I think, and cut out the 8 circles I needed for each bag.
I then took a pen and wrote the word Lego on the middle of each circle.

I flipped over the circle and pulled off one of the sticky sides on the foam circles and placed it in the center of the circle I cut out.

Peel the paper of the sticky circle and attach it to the bag being careful that they all line up.

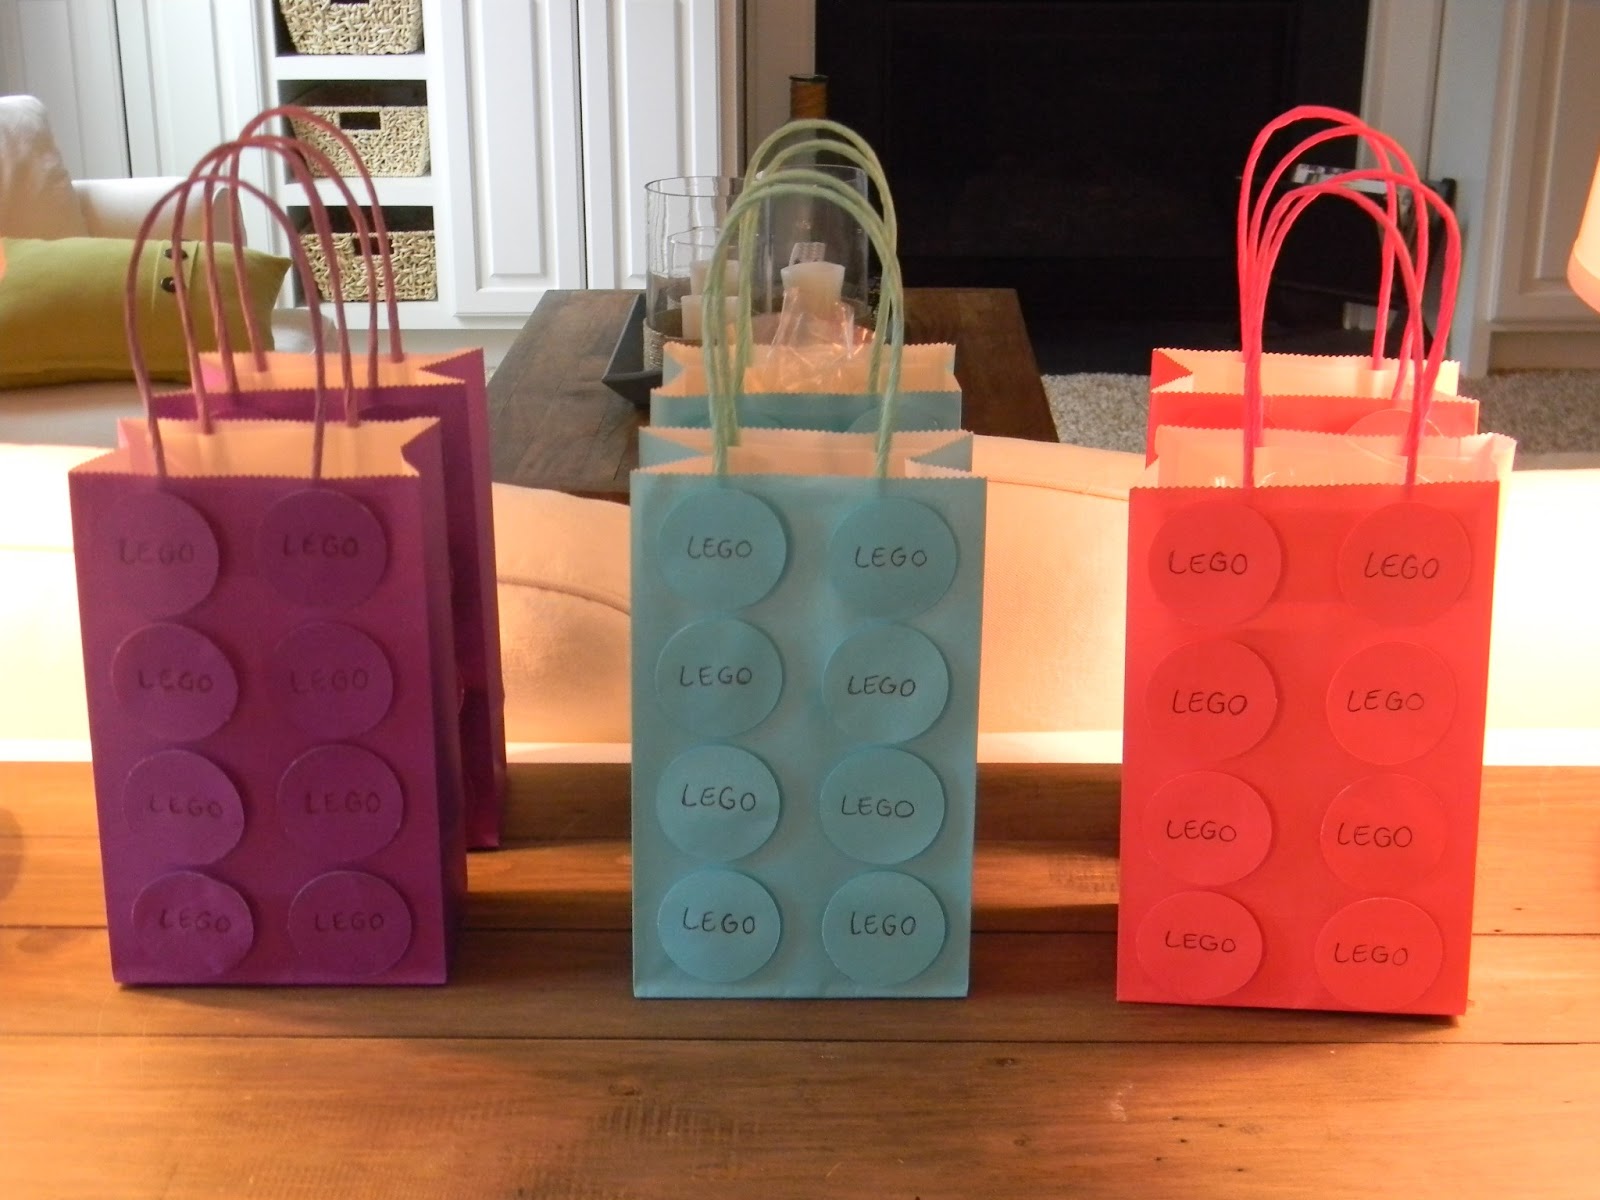
Then you have a finished Lego block bag!!! Ta da!

Here they are waiting to be filled.

We found a few awesome Lego Friends Party Supplies while searching for the paper bags at Target. I had no idea that there were even Lego Friends Party Stuff out there, did you? So cue the image of my daughter and I jumping up and down and squealing in the party section of Target. We found Lego Friends Pencils, Erasers, and adorable notebooks with two different cover options.

Here is the other cover option of the notebooks and closer shot of the erasers. We also added the Lego Friends chocolates that we made for the goody bags.

And a pink LEGO cookie, tied with a LEGO ribbon, (you see where I'm going with this), inside a LEGO bag! Yep, we were happy campers, lol.
Please let me know if you like me sharing all these party posts along with my decorating posts. I think they are a lot of fun, but I'd love to hear your feedback.
Hope to see you back here tomorrow when I share some of the items I purchased for my next client's living room install!
For information on my on-line design services,
please click here.
For on-site design services {Virginia}, please
email seasideinteriors01@gmail.com for pricing and
availability.
Seaside Interiors

those are so darn cute! for a second there I couldn't figure out what was happening and then I got to the end..I love it
ReplyDeletethank you for the great tutorial I'm going to have to try that :)
Love
Marisa
Thank you Marisa, I really appreciate you always taking the time to comment on my posts. It makes my day :-)
DeleteHi
ReplyDeleteCan I ask where you got your ribbon for tying your bags! Going to copy some of your ideas but as I'm in the UK I'm going to have to be inventive about sourcing some of the items- so wish we had a target here. missing our usual trip to florida where I normally buy things for my daughters party and bring them home!
Thanks
joy